Thursday, June 13, 2013

Thrifty Thursday: Cutting Cable

Matt and I don't have cable. In fact, we never had cable (at least at our home/apt). When we first got in our apartment, we were so set on paying off student loans and our car payment that cable was the last thing on our mind. We had free Hulu and a Netflix subscription - and that was fantastic for us. Total cost per month: $9


Once we bought an X-Box, we decided to pay for Hulu Plus as well, that way we could watch shows from Hulu directly from the X-Box (you can't do it without Plus). Total cost per month: $17

Right now, it looks like Time Warner Cable has TV and internet for $79.99, I'm not sure if that includes DVR or what channels are included, but even with us paying $33/month for internet that still brings our total cost $50 per month. 
We might not have no cable forever, but for now, it's what works for us. 

Do you have cable? If not, what do you do for TV?


Wednesday, June 12, 2013

What I Wore Wednesday: #5


Sunday Funday. Also known as the day I went to a birthday party and didn't eat cake or ice cream. Why? Because I bought a swimsuit right before I went. And let me tell you, looking at Victoria's Secret models in magazines and trying on the same swimsuit crushes your hopes and dreams. What am I doing about this? Not eating cake or ice cream. And going to the gym... two days in a row.

Side note: I liked my hair this weekend. Maybe I should wear it wavy more often. 

Tuesday, June 11, 2013

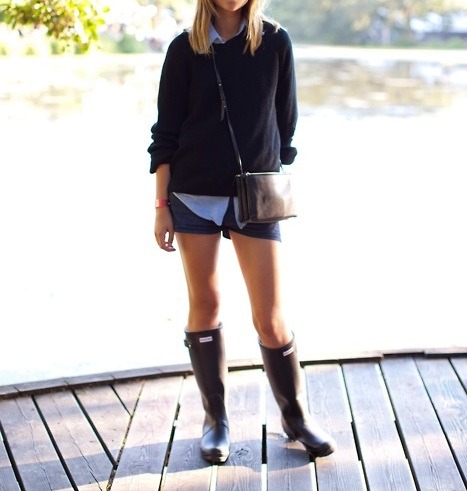
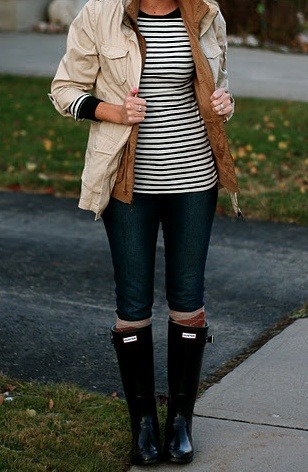
Rain Boots

I've always wanted rain boots, but have always been told I don't need any here (lies!). Since it rained on Sunday, I started looking at rain boot inspiration and have decided I REALLY need some. 


Do you have rain boots? Do you love them?


Monday, June 10, 2013

Makeover Monday: Kitchen Cabinets

Today you are going to see pictures. Lots of pictures. Please be warned.

Since we moved in, I had decided that our oak colored cabinets needed to be a different color. I went back and forth between white and espresso. When we got Astro in October, I knew white was no longer an option - espresso it was. But I was nervous as crap to do the cabinets. What if I messed up? I don't have 15k to get new cabinets! So I put it off... and off... until February. At that point it was a now or never type of thing since we were getting our flooring done in March. 

So, I did it. I followed Monica's tutorial for the most part (except I ran out of socks) and it worked out pretty well. Though it did take a solid three weeks of working on it. Total hours into the sanding, staining and sealing was about 40. 

Here is what our kitchen looked like before I started the process (all photos are prior to us purchasing the house):


 The cabinets look fine here, but then again everything is beige, once we switched to grey, it wasn't quite as cohesive. 

Here is what the kitchen looked like throughout the process. There were times I got SUPER nervous:


See the progression? After the first coat I thought, "*Bleep*, what am I doing?!" But with each coat, things got better. I ended up doing 4 coats of stain and this is what it looked like when I finally put the doors back on:


Not so terrible, right? Here is a shot of the before and after next to each other:


Quite the difference! 

Then my cabinets stayed just like you see above until last week when I finally worked up the nerve to put hardware on. Once I started doing it, it wasn't so scary, but man - putting holes in things freaks me out! There's one drawer that's slightly crooked, but I'm blaming it on the drawer itself.


I still need to put two more handles on the fake drawers, I'm just trying to figure out the best way to do it since I can't get behind them to drill. Wood glue?


There you have it, that is our kitchen as of this morning. Progress!

Things that still need to be completed:

*Granite countertops
*New sink
*New appliances (stove/oven, dishwasher)

Have you ever took on any large projects in your house that you were scared to death to start?


Thursday, June 6, 2013

Thrifty Thursday: Statement Necklaces

Statement necklaces are one of my favorite things. They can dress up a plain outfit, and some punch to a so-so outfit and they draw the attention up towards your face. However, sometimes finding an awesome statement necklace under $50 can be hard to do. Here is a long list of my favorite statement necklaces under $40 (from least to most expensive.)


Do you wear statement necklaces? Where do you purchase them from?


Wednesday, June 5, 2013

What I Wore Wednesday: #4

Another Wednesday, another work day. I wore this outfit on Monday. 

There are three things I want to point out. 
1. I used my summer makeup tutorial to show what it looks like at the end of the day.
2. My camera is terrible. 8 megapixels just doesn't cut it anymore. 
3. My shoulders are pink. Not from landscaping, but from standing at the garden center at Lowe's.


Shirt: JC Penney, Pants: Gap, Watch: Michael Kors, Shoes: Marc Fisher


What do you have going on today?

Tuesday, June 4, 2013

Summer Makeup

Anyone can tell you I love makeup. L-O-V-E. And I like to share my love of things which is why today I want to talk about my summer makeup routine. Let's walk through a typical morning of makeup.
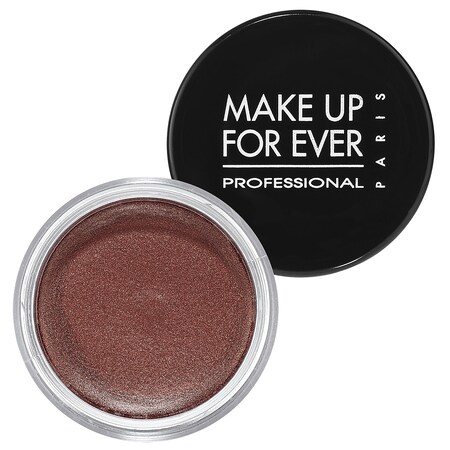
I find it easiest to start with my eye makeup and then doing the rest of my face. That way, if I mess up, it doesn't matter if I take it off. Or, if I get powder on the rest of my face, no biggie! I love cream shadows for summer months. They tend to be pigmented and most of all they stay in place! Two of my favorites are Make Up Forever's Aqua Cream; $23, and Mac's Paints; $18.50 (these only come in neutral colors). Both last forever. I have had my Paint for 8 years(!!). It is still over half full and it hasn't dried out.


I like to use just a little bit to add color on my eyelids, nothing crazy! I also put a bit of shimmer under my brow bone, any shimmery tan/light color could work, just make sure you pick the right color for your skin tone (gold vs. silver). The rest of my eye makeup I do after my face.

Summer makeup has to last through the heat, humidity, outdoor activities and everyday life. Which means you want to start with a good base - or in the makeup world, a good primer. There are plenty of fantastic primers out there, but the primer I'm going to show you is one you might not be familiar with. Ready? It's the Monistat Soothing Care Powder Gel. Weird, right? Well, the active ingredient is Dimethicone - a skin protectant. Coincidentally, it is also found in Smashbox's Photo Finish Foundation Primer which is roughly $28 more than the Monistat gel. 


Once you buy this magic in a bottle it should be the first thing you use in your makeup routine. Use a pea sized amount and spread it on your t-zone (forehead, cheeks, nose and chin) with your clean fingers or a brush.

Next, you want to use something that isn't going to be too heavy. I'm fond of tinted moisturizers. Laura Mercier makes my favorite, but it's pretty costly at $43. TheBalm makes a good tinted moisturizer for $25 if you're looking for an alternative!


Use a foundation brush (Sephora #56 is my go to for foundation) to apply it to your face. Start in the middle and work your way out, making sure you blend, blend, blend! Especially around your neck.

Next up, concealer. Nars Creamy Concealer ($28) doesn't settle into fine lines which is awesome. You want to use a small concealer brush (Sephora #57 is my favorite) and apply it in a pie shape - down your nose and to the outer corner of your eye. Where the red line is in the picture below.


You can also apply it to any other areas that need it, ie. a spot on your chin. 

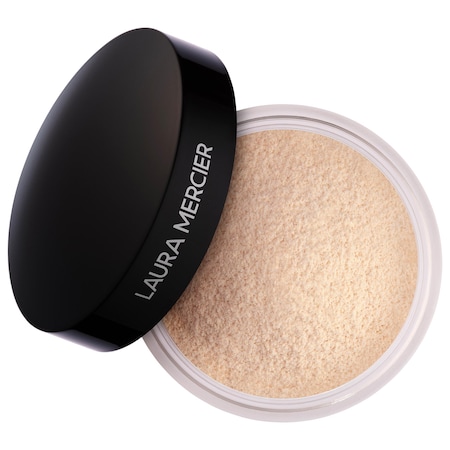
After concealer top everything with a loose setting powder using a big powder brush. I like Laura Mercier's ($35), but Maybelline has a good option for under $6!


From there, it's the little things. Highlighter on the inside corner of my eye to make them pop:


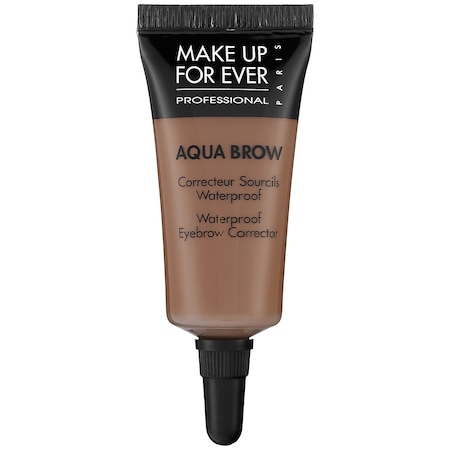
 filling in my eyebrows:


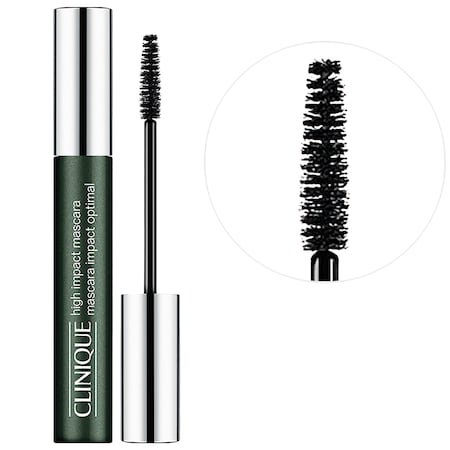
And then curling and putting on mascara (I don't use waterproof unless I know I will be outside for a large portion of the day):


Still with me? There are only three more steps!

First, contour! Sounds scary, but it really isn't. Think of it as helping the things about your face you aren't particularly fond of. I use a very light bronzer (matte, no shimmer!) and here is where I contour (I use my #56 for the cheek area and #57 for the sides of my nose): 


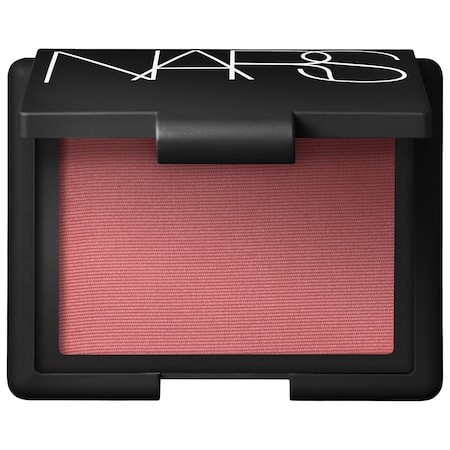
Then, throw some blush on the apples of your cheeks! My favorite is Nars Blush in Amour ($29).


Lastly, highlight (I use Sephora's Lightbeam; $12) the features you want to show off! I use the #56 for around my eye and a small angled brush for my nose.


That's it (other than the lip color/gloss of your choice). I know it seems like a lot, but once you get the hang of it, it's not so terrible. It makes you look luminous, will last all day and will make your skin look flawless!

As you can tell, I'm addicted to Sephora and have built up my collection of makeup over years and years. Don't feel like you need to use the same items I use - drugstore makeup has come a long way and can be much more affordable! If you want help looking at less expensive options, let me know.

What is your summer makeup routine?